> ## Documentation Index
> Fetch the complete documentation index at: https://aarc.mintlify.site/llms.txt
> Use this file to discover all available pages before exploring further.
# Get Started
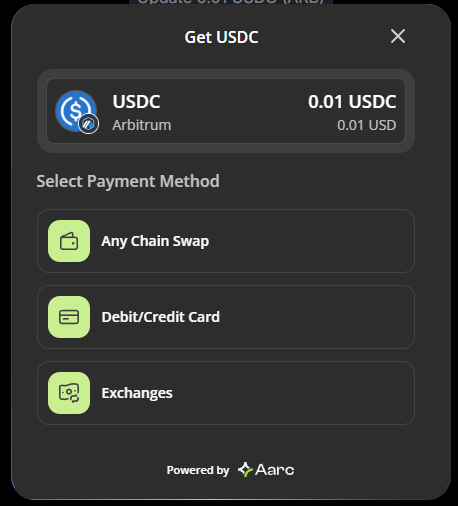
The Aarc iframe widget is a powerful tool that allows developers to embed cross-chain transaction functionality directly into their decentralized applications (dApps) or websites. It simplifies the user experience by enabling seamless interactions—such as funding intents, executing cross-chain transactions, or managing wallets—without requiring users to leave the application interface.
## Introduction
The iframe widget integrates Aarc's **Intent Execution Protocol** into your application, providing users with a streamlined interface for:
Create and manage transaction intents with ease, handling complex cross-chain operations seamlessly.
Execute cross-chain deposits, swaps, or payments with guaranteed outcomes and atomic transactions.
Interact with various funding sources including wallets and fiat onramps for seamless transactions.
***
## Setup Guide (Using SDK Recommended)
Install the required Aarc packages:
```bash theme={null}
npm i @aarc-xyz/fundkit-web-sdk @aarc-xyz/eth-connector
```
Install additional required dependencies:
```bash theme={null}
npm i @tanstack/react-query @rainbow-me/rainbowkit viem wagmi
```
Create an `aarcConfig.ts` file with your application configuration:
To learn more about the config type visit this [link](config)
If you add `contract` details in the destination then the widget will automatically enable `checkout` mode where it will call a smart contract.
Wrap your application with the necessary providers and create an `AarcFundKitModal` instance:
Learn more about `AarcFundKitModal` from [this](modal) guide.
```jsx theme={null}
import {
AarcFundKitModal,
FKConfig,
ThemeName,
TransactionErrorData,
TransactionSuccessData,
} from "@aarc-xyz/fundkit-web-sdk"
import { QueryClient, QueryClientProvider } from "@tanstack/react-query";
import { AarcEthWalletConnector } from "@aarc-xyz/eth-connector";
import { aarcConfig } from "aarcConfig.ts"
import "@aarc-xyz/eth-connector/styles.css";
const queryClient = new QueryClient();
function App({ children }) {
const aarcModalRef = useRef(new AarcFundKitModal(aarcConfig));
const aarcModal = aarcModalRef.current;
return (
{children}
);
}
```
Create a component to open the widget:
```typescript theme={null}
"use client";
import { aarcConfig } from "aarcConfig.ts"
export default function Home() {
const aarcModal = new AarcFundKitModal(aarcConfig);
return (
);
}
```
You can [preset](destination) the widget with specific configurations to enhance user experience.
For effective widget state management across your application, we recommend using a custom context. This approach centralizes state management and ensures seamless integration. You can view an example implementation [here](../cookbook/widget-implementation-in-next.js-+-wagmi).